You can Make crusty homemade artisan bread is a breeze, and you don’t even need to knead the dough! The bread comes out with a soft and fluffy interior and a mouthwatering chewy crust that is hard to resist. First-time breadmakers will love this recipe for its ease and flexibility. Bread enthusiasts, on the other hand, will savor the thick, chewy crust and soft, airy crumb that resembles Ciabatta bread. Pair it with some butter for the ultimate indulgence!
What is artisan bread?
Artisan bead is typically made by hand and the traditional method by using simple ingredients. You can make this bread with a variety of flours and grains, like spelt, whole wheat, and rye, and also can incorporate additional ingredients such as nuts, and seeds which enhance the flavor of your artisan bread recipe.
How to make artisan bread:
- 1 Take a large bowl. We will be using bread flour as it has a higher protein content, providing a better chew. We will need 3 3/4 cups or 450 grams of bread flour.
- 2 You can use all-purpose flour instead, but the bread will be softer and less artisanal. We’ll use one packet or 2 1/4 tsp of instant yeast if you’re measuring from a larger container.
- 3 Add 1 3/4 tsp of kosher salt with larger grains and stir with a wooden spoon. You can make the bread in two ways: overnight or one day. For overnight, mix at the end of the day, refrigerate, and bake in the morning. Or, make it in one day, which is just as easy.
- 4 Now, add 1 1/2 cups of warm water, which should be around 120 degrees Fahrenheit, and pour it in as you stir.
- 5 This is one of the easiest breads ever. I know many of you might be intimidated by bread-making, especially the sourdough cult, which is a big thing. Sourdough is a bit more challenging, and you definitely have to get the hang of it.
- 6 Artisan bread: chewy texture, crusty outside, easy to make, great for sandwiches. Stirring dough to hydrate the flour.
- 7 Don’t worry if it looks a bit dry on the outside. It will work out just fine. You could also add some extra flavorings to this, like herbs or rosemary.
- 8 Adding Kalamata olives and caramelized onions to the dough. After stirring for a few minutes, the dough comes together. Don’t worry if flour doesn’t mix in at first. Keep moving until it forms a big ball, or “bluh.”
- 9 Cover and let the dough rise for 1.5 to 2 hours in a cozy spot. Make it airtight with paper and a bonnet. Chill in the fridge for 8 to 24 hours.
- 10 Preheat oven to 450°F and put Dutch oven cast iron pot inside for 30 mins. Hotter pot = better crust.
- 11 After almost 20 minutes, your pot should be ready.
- 12 Take the dough out of the fridge. If not using the overnight method, skip this step. If using, let the dough come to room temp for 10-15 mins before shaping.
- 13 Use a trivet to avoid putting the hot pot on the counter. Let dough sit on the counter for 10-15 mins while the pot is in the oven. If unhappy with how it looks, don’t worry, it’ll get fixed. Smells delicious!
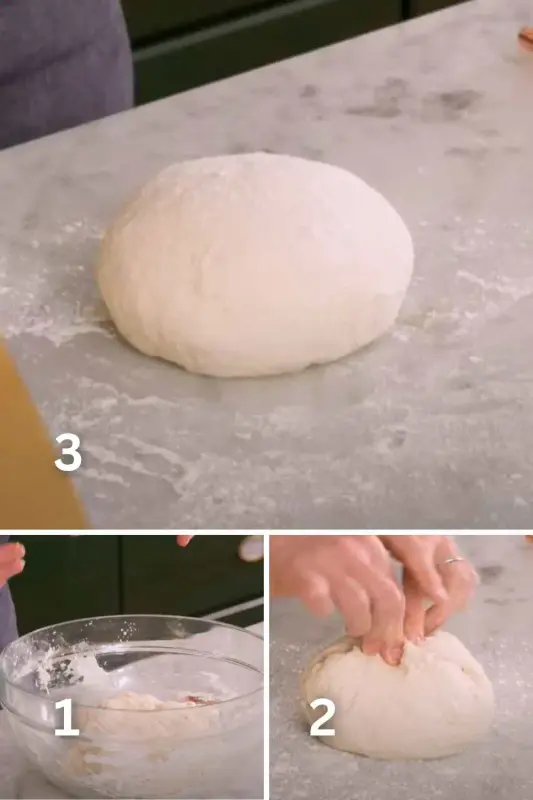
- 14 Loosen dough from the bowl with a small spatula. Keep the dough in a bowl to make it easier. Flip one end to the other, rotate the bowl 90 degrees, and repeat three times. Rotate the bowl and repeat until the dough becomes smoother (about 7-9 rotations).
- 15 Check the dough, it should look smoother. After nine rotations, put the dough on a lightly floured surface and dust your hands with flour. Be gentle as you release from the bowl; the dough should look nicer now. Finish shaping gently.
- 16 Gather dough like a giant dinner roll. Shape it into a little loaf and make it round. Transfer to parchment paper. Cover for 10 mins to let the dough relax and open up for structure.
- 17 Don’t rush, pot can stay in the oven for more than 30 mins. The hotter, the better. Dough rested for 10 mins, can rest up to 30 if busy. No need to be exact.
- 18 Let gluten relax before cutting a slit in the dough to control baking. Bread lame is ideal, but a sharp knife works fine. Cut a 1/4 inch deep slit over top to let the bread expand. Be careful as it is hot.
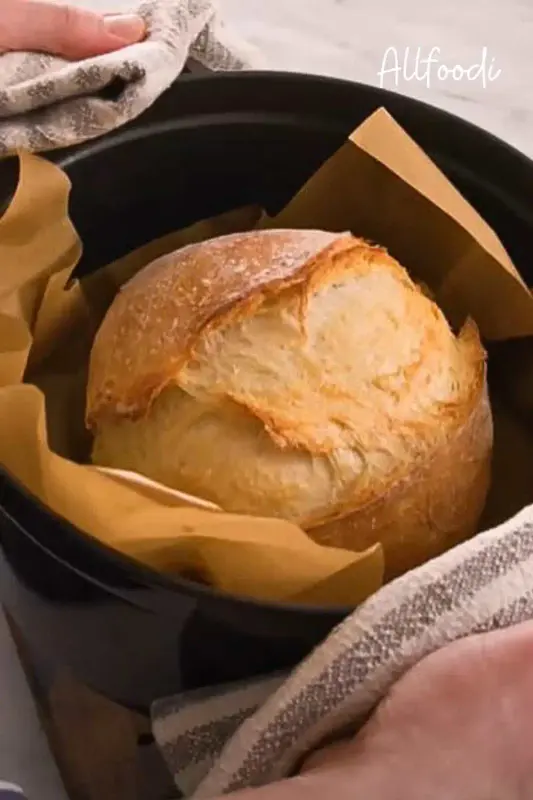
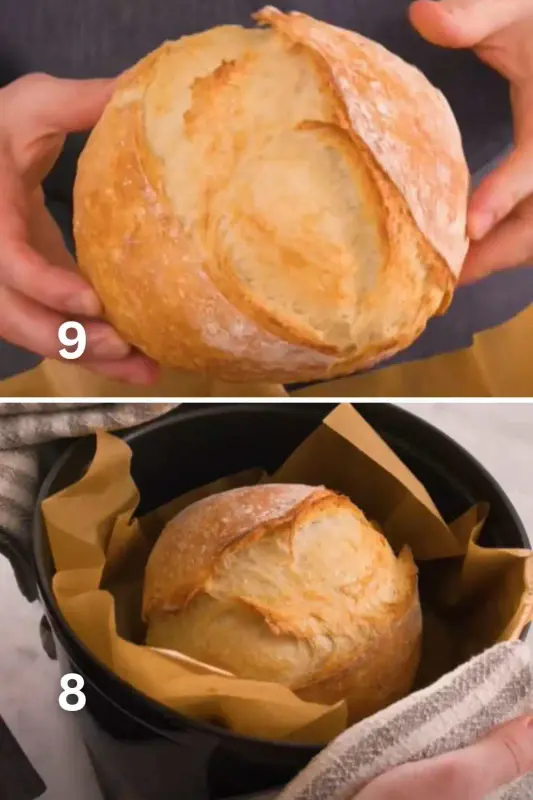
- 19 To avoid burning yourself, make sure to use oven mitts or any other protective gear you have. Carefully transfer the dough into the preheated pot and put it in the oven at 450 degrees Fahrenheit for 30 minutes. After that, remove the lid and continue baking until the bread turns golden brown, which should take around 13 to 17 minutes, depending on your oven.
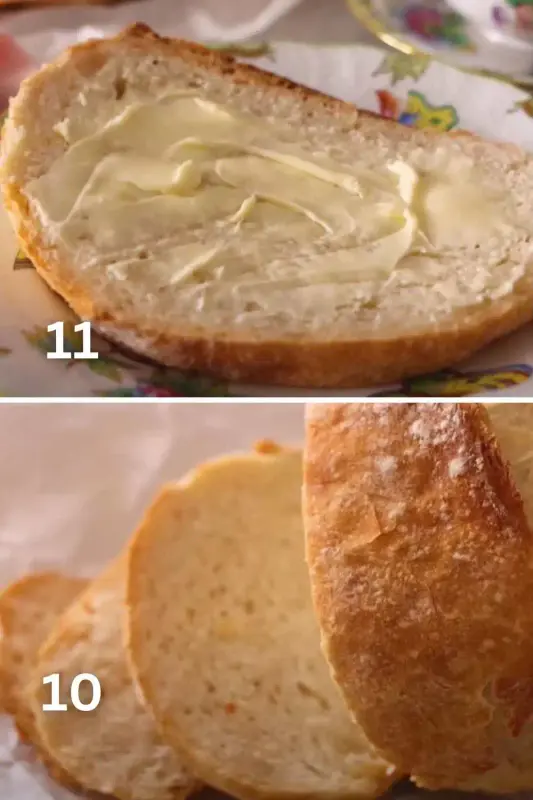
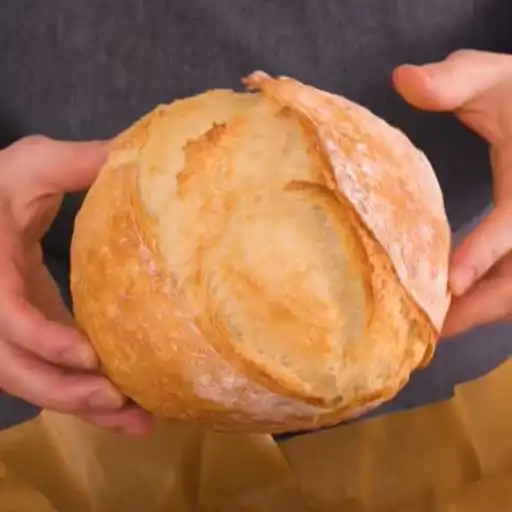
- 20 The bread will cool down for a few minutes before we carefully remove it and cut it open. Once cooled, transfer the bread and admire its beauty. The bread is easy to make, but the real test is in its crispy exterior and delicious interior.

Note: light-colored Dutch ovens may get scorched permanently. Use a dark-colored pot you don’t mind damaging like a garage sale find.
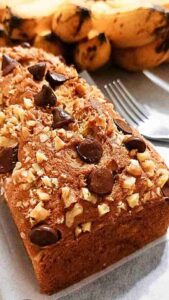
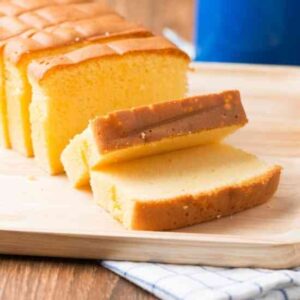
Cake Recipe You May Like:
Artisan Bread: Question & Answers
What is the difference between artisan bread and regular bread?
Do I need special equipment to make artisan bread?
How can I achieve a crispy crust on my artisan bread?
Can I make artisan bread without yeast?
How long does artisan bread stay fresh?
Easy Artisan Bread Recipe
Looking for a delicious and easy-to-make artisan bread recipe, you've come to the right place! Impress your loved ones with this homemade bread that's perfect for any occasion. Follow our step-by-step instructions for a mouth-watering result.
Ingredients
- 3 cups bread flour 50g
- 1 tablespoon white granulated sugar
- 2 teaspoons dried, instant yeast
- 1 1/2 teaspoons salt
- 1 1/2 cups warm water (375 ml)
- 1 tablespoon olive oil
Instructions
- In a large bowl, whisk together the flour, sugar, yeast, and salt.
- Add the warm water and olive oil to the bowl, and mix until a shaggy dough forms.
- Cover the bowl with a damp cloth and let it rest for 10 minutes.
- Knead the dough for 5-10 minutes until it becomes smooth and elastic.
- Place the dough in a clean, lightly-oiled bowl, and cover it with plastic wrap. Let the dough rise in a warm, draft-free spot for 1-2 hours, or until it has doubled in size.
- Preheat your oven to 450°F (230°C) and place a baking stone or a heavy baking sheet on the middle rack.
- Once the dough has risen, turn it out onto a lightly floured surface and shape it into a ball.
- Transfer the dough onto a sheet of parchment paper and let it rest for 10-15 minutes.
- Use a sharp knife to make several slashes across the top of the dough.
- Carefully transfer the parchment paper with the dough onto the preheated baking stone or baking sheet.
- Bake the bread for 30-35 minutes, or until it is golden brown and sounds hollow when tapped.
- Remove the bread from the oven and let it cool on a wire rack before slicing and serving.
Notes
light-colored Dutch ovens may get scorched permanently. Use a dark-colored pot you don't mind damaging like a garage sale find.
Nutrition Information
Yield
1Amount Per ServingCalories 140Total Fat 3gSaturated Fat 1gCarbohydrates 23gFiber 1gSugar 1gProtein 5g